On Web Vault or Desktop App
Add an item
You can directly import items from other popular password managers into Locker.
Edit an item
Click on the item or select the Edit option from the three-dot menu > Edit the item > Click Save.Delete items
Delete a single item: Click on the item or select Delete from the three-dot menu > Click OK to confirm. Delete multiple items:Select items
Hover over the items you want to delete. Click the checkbox that appears next to each item.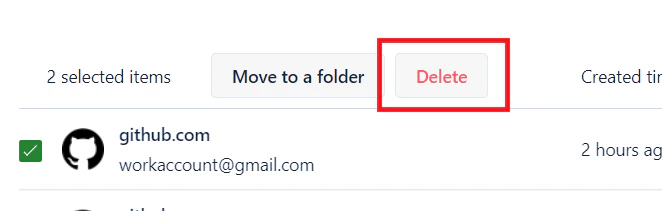
Clone an item
You can duplicate any item you own by clicking the three-dot menu and selecting the Clone button.Restore deleted items
Deleted items are sent to the Trash for 30 days. After 30 days, they will be permanently deleted. You can always restore an item from the Trash or permanently delete it immediately.On Mobile Devices
Add an item
On the home screen, tap the Plus icon in the top-right corner and select the type of item you want to create. Fill in all required fields > Tap Save.Edit an item
Tap the item > select the Edit option > Edit the item > Tap Save.Delete items
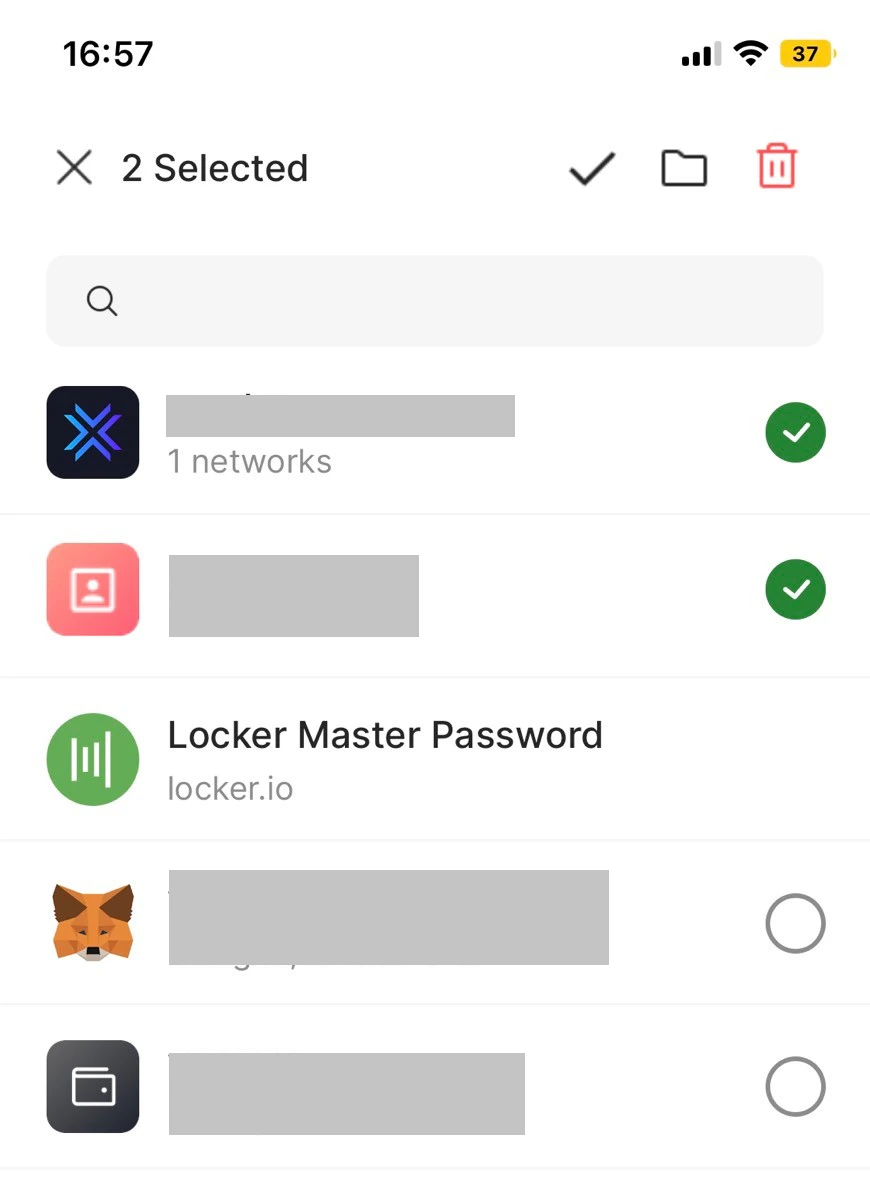
Delete a single item: Tap the item > select the Move to Trash option > Tap OK. Delete multiple items:Select items
Press and hold any item until you see a circular checkbox appear next to each item. Select the items you want to delete.