Add, Edit and Remove Project Members
Adding members to a project allows them to access all secrets within that project. You can add any member belonging to your workspace to a project you created, or a project where you are assigned as an Admin.Project Member Roles
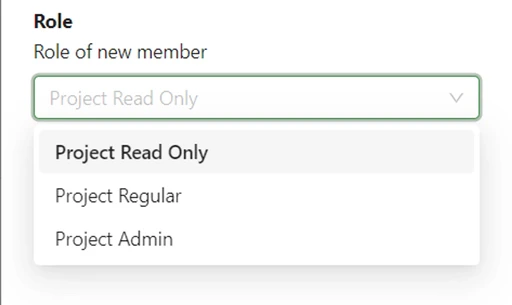
There are three roles that a project member can have:- Project Admin: can create, view, edit and delete secrets, environments, access keys and project members.
- Project Regular: can create, view, edit and delete secrets, environments and access keys in the project.
- Project Read Only: can only view secrets, environments and access keys.
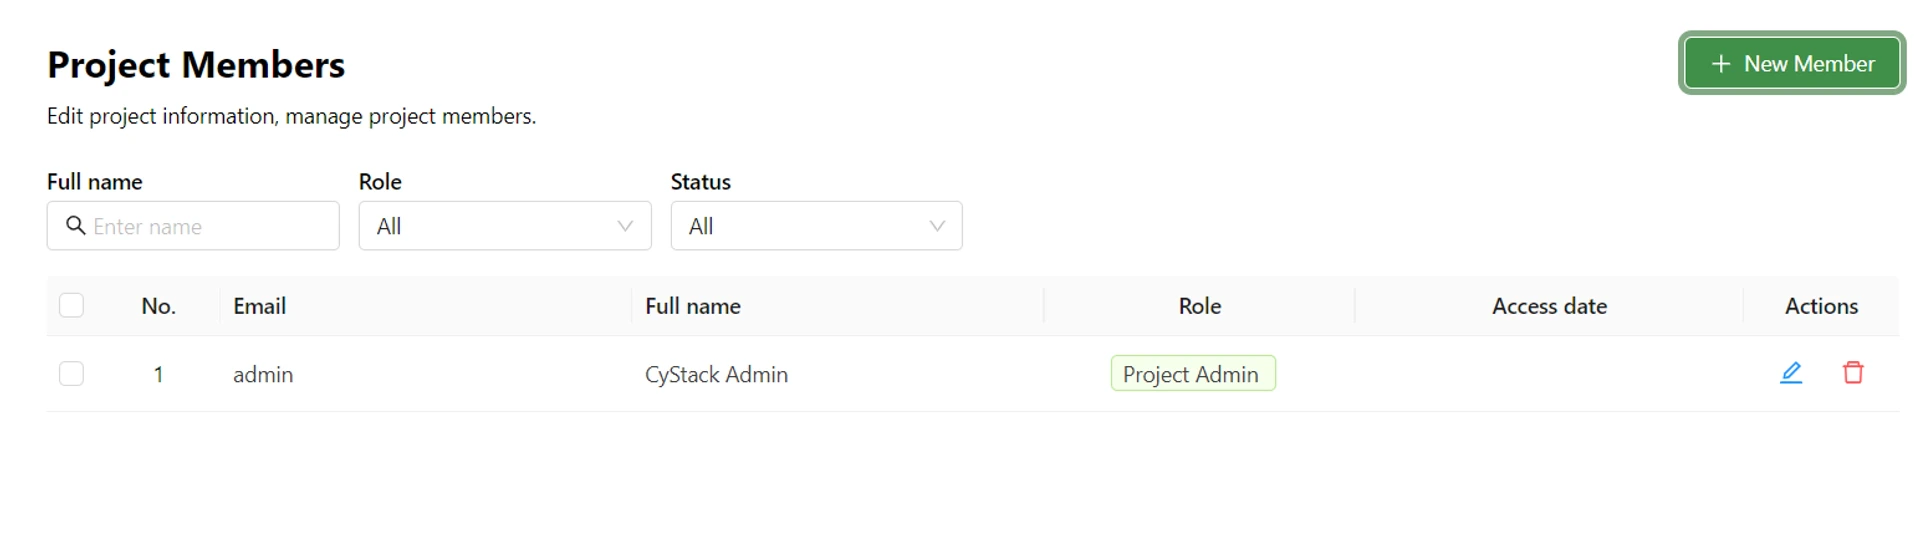
Add New Members
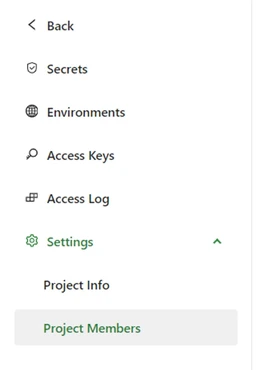
- Open the project you want to add members to > open the Project Members page on the left navigation bar.
- Click the New Member button.
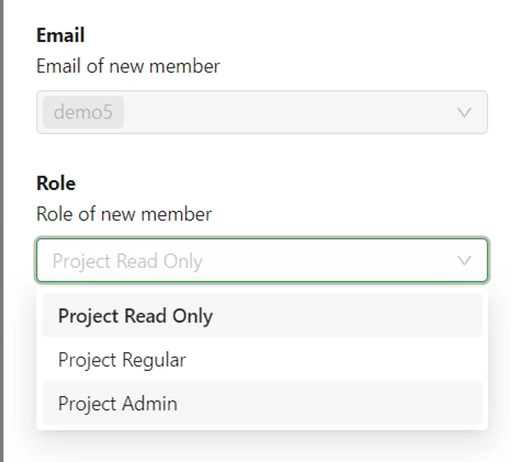
- Select members from the list. All members in your workspace are displayed here.
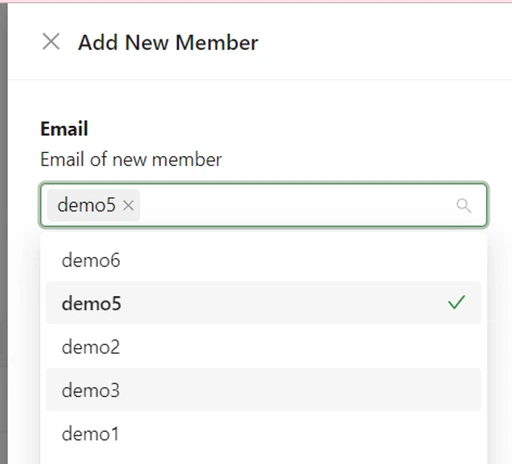
You can add multiple members at once. Members added at the same time will share the same role.
- Select a role for the members you want to add.
- Click the Add button. The newly added members will appear in the project member list.
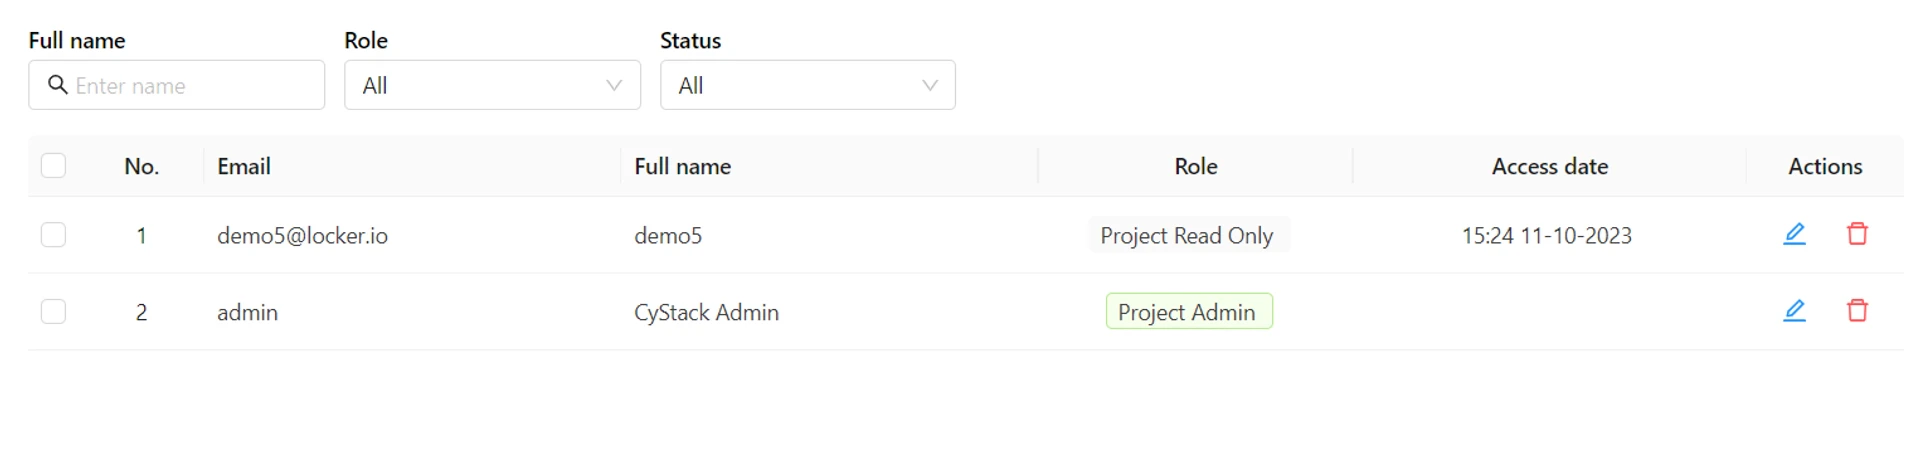
Edit a Member’s Role
- To edit a member’s role, click the Pencil icon corresponding to that member.
- On the edit screen that appears, select a different role for the member.
- Click the Save button to save the changes. Now your member can access the project with the new role.
Remove a Member
- To remove a member from the project, click the Trash icon corresponding to that member.

- On the popup, click the Delete button to confirm the removal.