Add and Manage Access Keys
Access keys provide programmatic access as well as the ability to decrypt, edit, and create secrets from Locker CLI or Locker SDKs. You can have up to two active access keys at a time for a project. In Locker, an access key with Read or Write permission can have the following capabilities:- Read: Has permission to retrieve all secrets belonging to a specific project from Locker CLI or Locker SDK.
- Write: Has permission to retrieve, create, and update all secrets belonging to a specific project from Locker CLI or Locker SDK.
Create a new access key
- Log in to Locker Secrets Manager, open a workspace and the project where you want to create an access key.
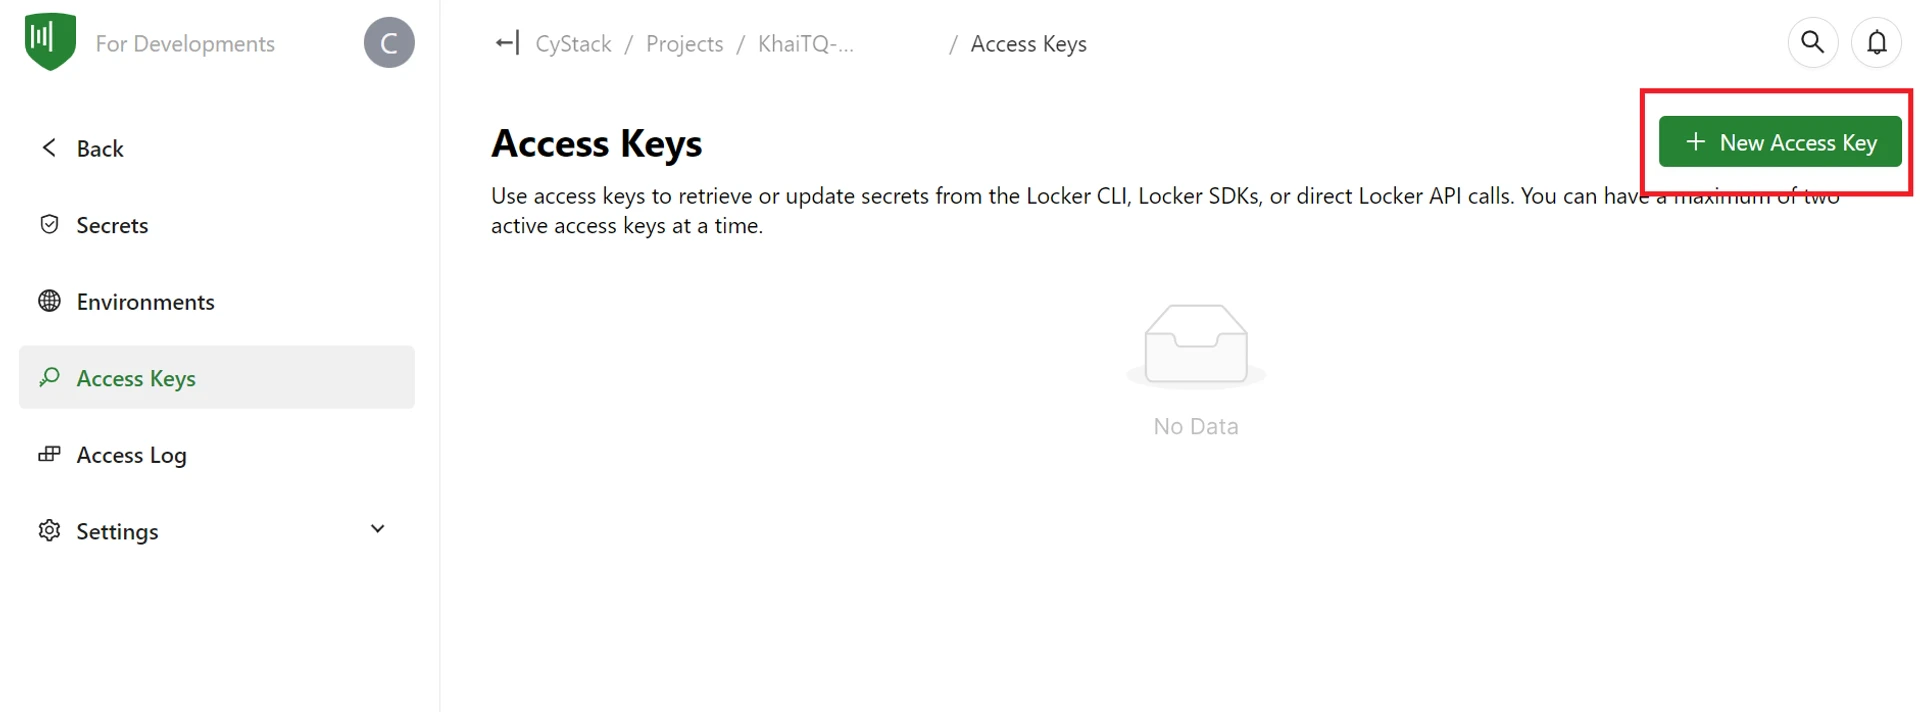
- Open the Access Keys page from the left navigation bar > click the New Access Key button in the upper right corner of the screen.
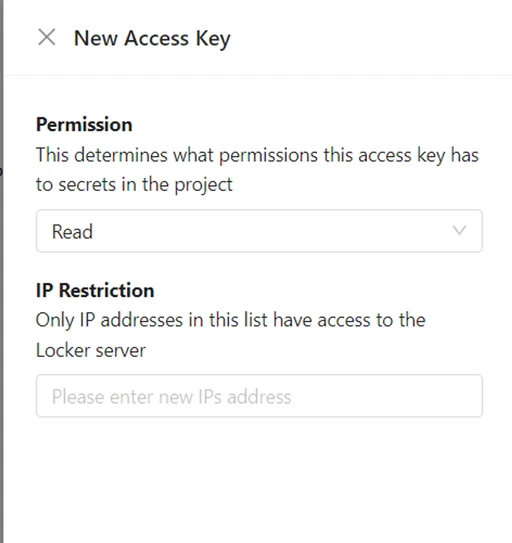
- Select a permission that your access key will be used to perform.
- Enter an IP Restriction to limit access if desired. If you enter IP addresses in this field, secrets and environments in the project will only be accessible from these IP addresses.
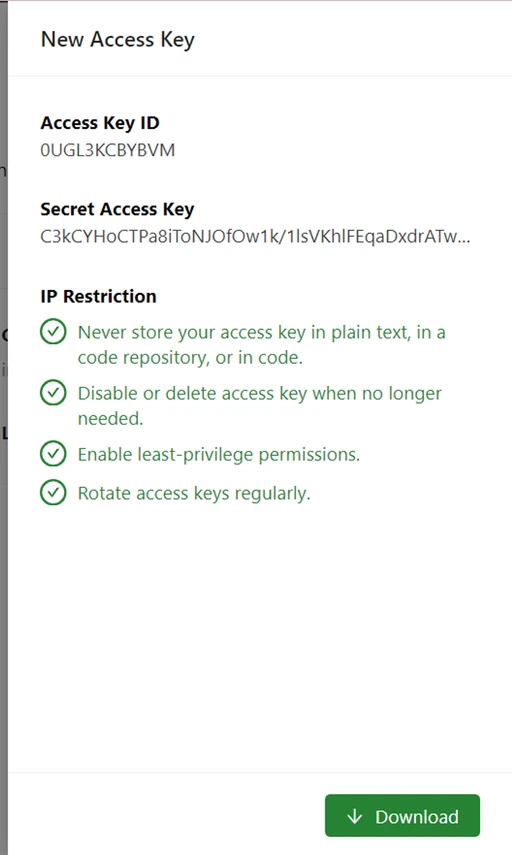
- Click the Create button. An Access Key ID and Access Key will be generated and displayed on the screen.
The Access Key ID and Access Key will only appear once. You should copy or download the file containing these keys and store them securely.
Edit an access key
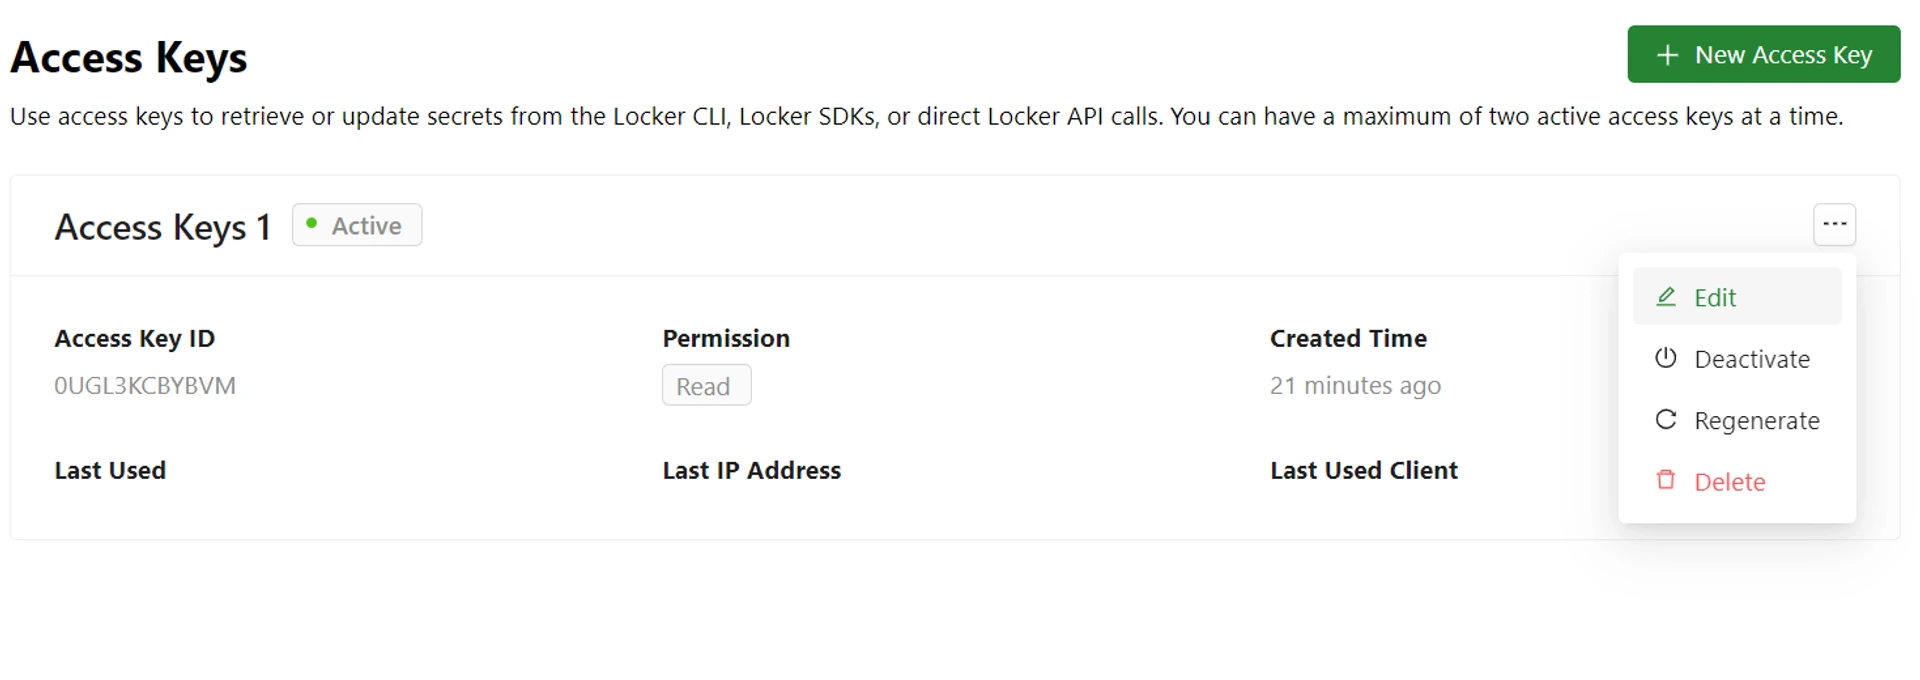
You can edit the permission or IP restriction of an existing access key. To edit, open the Access Keys page.- Click the Three-dot button corresponding to the access key you want to edit, and select Edit.
- Edit the access permission or IP addresses for using the key. Click the Save button to save your changes.
Deactivate an access key
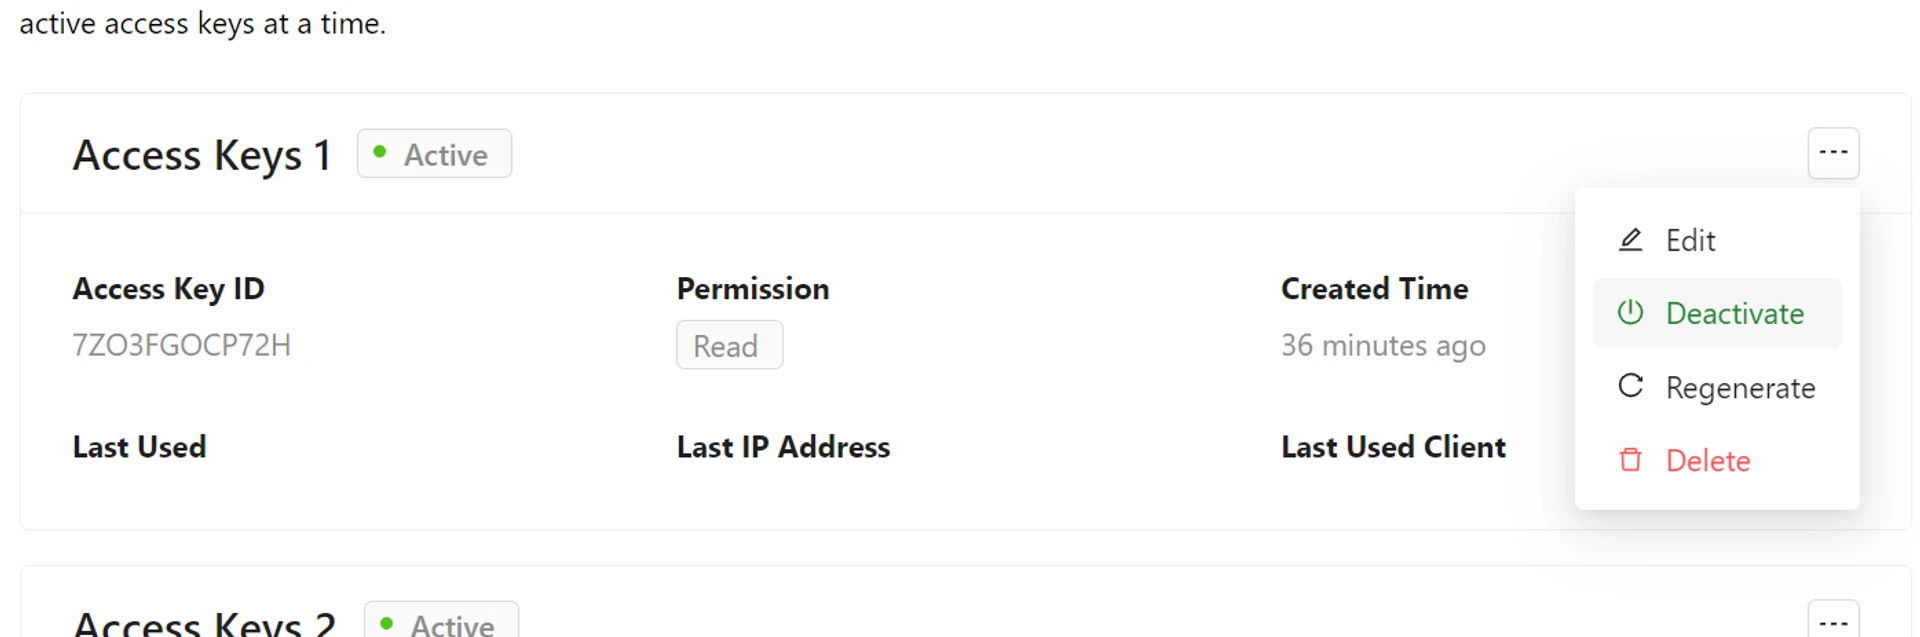
When you deactivate an access key, it can no longer be used to access the project from Locker CLI or SDKs. To deactivate an access key, go to the Access Keys page.- Click the Three-dot button corresponding to the access key you want to deactivate, and select Deactivate.
- In the pop-up window that appears, click the Deactivate button to confirm.
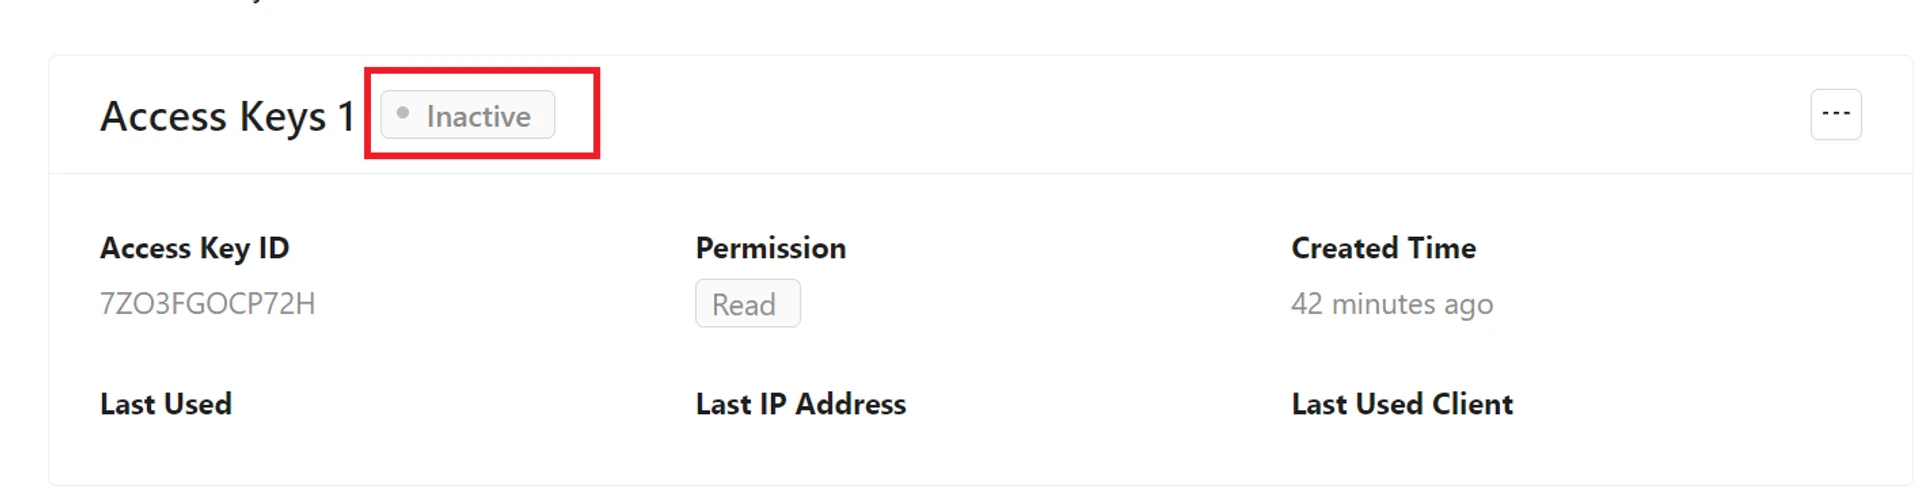
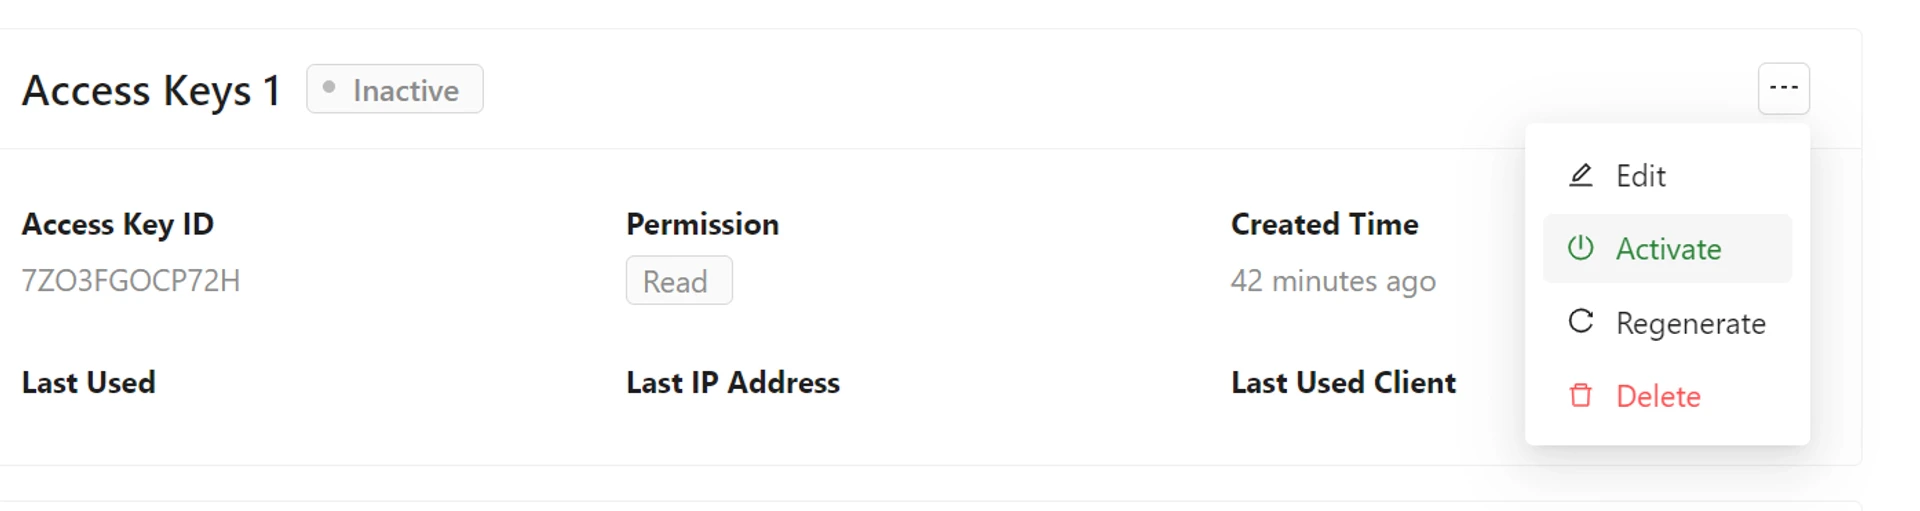
- The access key will be deactivated. You can see the status of the access key as shown below.
Regenerate an access key
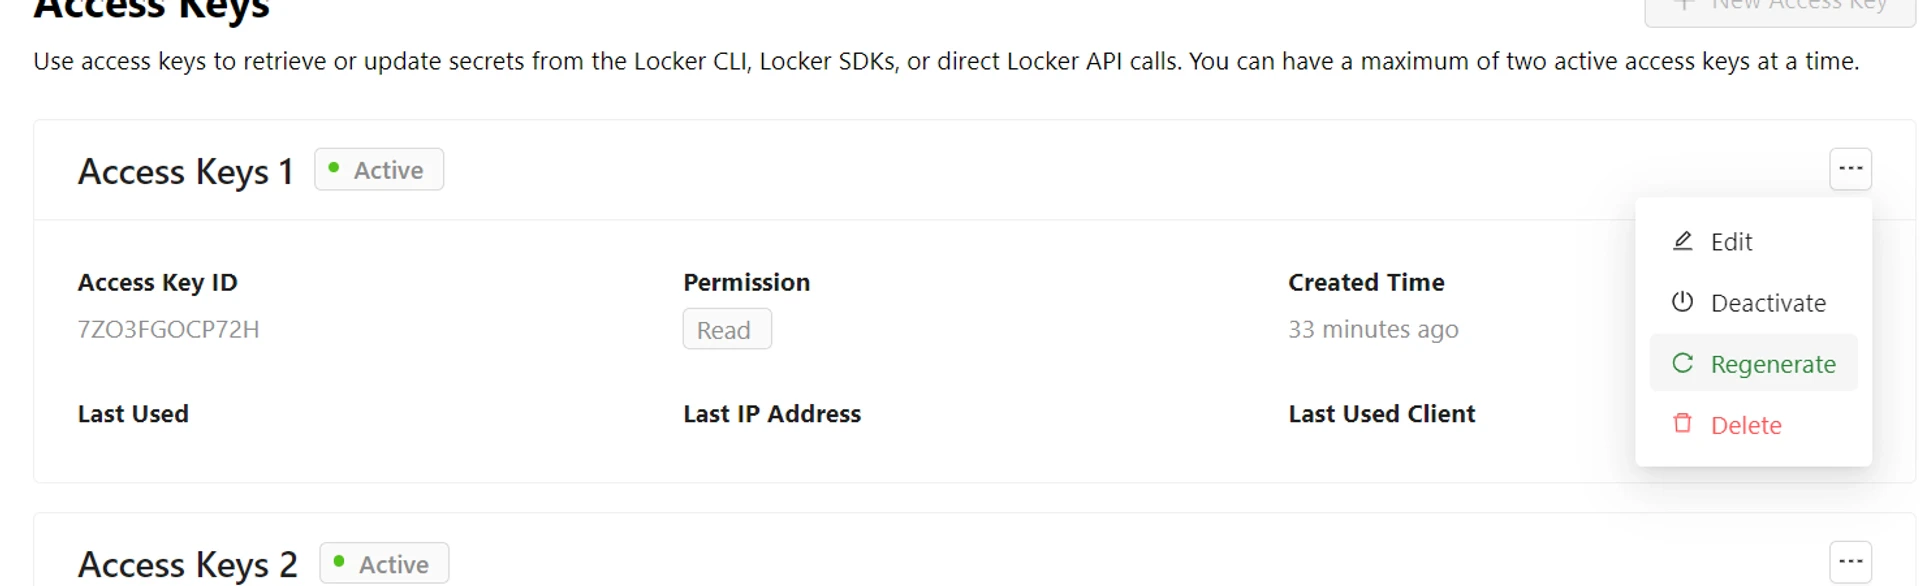
When you regenerate an access key, the Access Key ID will remain the same while the Access Key will be regenerated. To regenerate an access key, go to the Access Keys page.- Click the Three-dot button corresponding to the access key you want to regenerate, and select Regenerate.
- In the pop-up window that appears, click the Regenerate button to confirm.
- The Access Key ID, along with the new Access Key, will be displayed. You should copy or download the file containing the new key.
Delete an access key
To delete an access key, go to the Access Keys page.- Click the Three-dot button corresponding to the access key you want to delete, and select Delete.
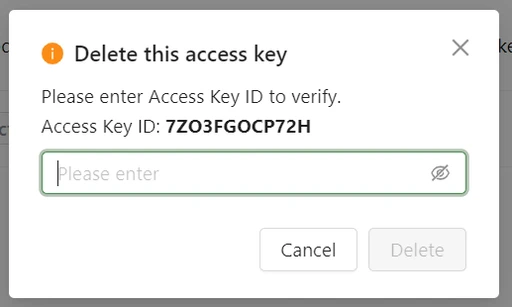
- In the pop-up window that appears, re-enter the Access Key ID and click the Delete button to confirm.
Data retrieved using this access key on Locker CLI or SDKs will still remain on the device that retrieved it.