The internal sharing feature within Locker is only available for Premium plan users and above.
On Web App or Desktop App
Share a folder
1
Log in
Log in to your Locker account.
2
View folders
On the Vault tab, click View Folders.
3
Select share
Click the three-dot icon next to the folder you want to share, then select Share.
4
Add recipients
Add the email associated with the recipient’s Locker account and select how you want to share under Permission: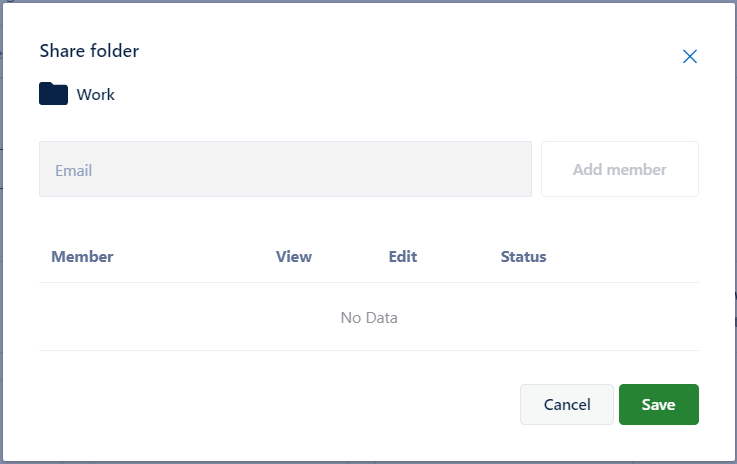
- Can view: The recipient can only view the items in the shared folder.
- Can edit: The recipient can view and edit the items in the shared folder.
5
Share
Click Share.
Receive a shared folder
1
Receive notification
When any Locker user shares a folder with you, you will receive an email notification.
2
Log in
Open the email and click Log in to Web Vault or log in directly at Locker.io.
3
View shared items
In your Locker vault, click Sharing. You will see the shared folder and all related information.
4
Accept or decline
Click Accept or Decline. When you accept, the folder will be automatically added to your vault.
On Mobile Devices
Share a folder
1
Open Locker
Open the Locker mobile app.
2
Open Folders
Tap Vault > Folders.
3
Select share
Tap the three-dot icon next to the folder you want to share, then select Share.
4
Add recipients
Enter the email associated with the recipient’s Locker account. The permission is automatically set to View mode.
5
Done
Tap Done.